How to Add Custom Product Personalization Options in Shopify Without Slowing Down Your Site
Learn how to add custom product personalization options to Shopify using Liquid, JavaScript, line item properties, and metafields without hurting page speed, SEO, or Core Web Vitals.
Shopify Product PersonalizationShopify Custom OptionsShopify Product CustomizationShopify LiquidShopify JavaScriptShopify DevelopmentShopify Product PageShopify Line Item PropertiesShopify MetafieldsShopify Speed OptimizationShopify PerformanceShopify Core Web VitalsShopify CROShopify Theme Development
How to Add Custom Product Personalization Options in Shopify Without Slowing Down Your Site
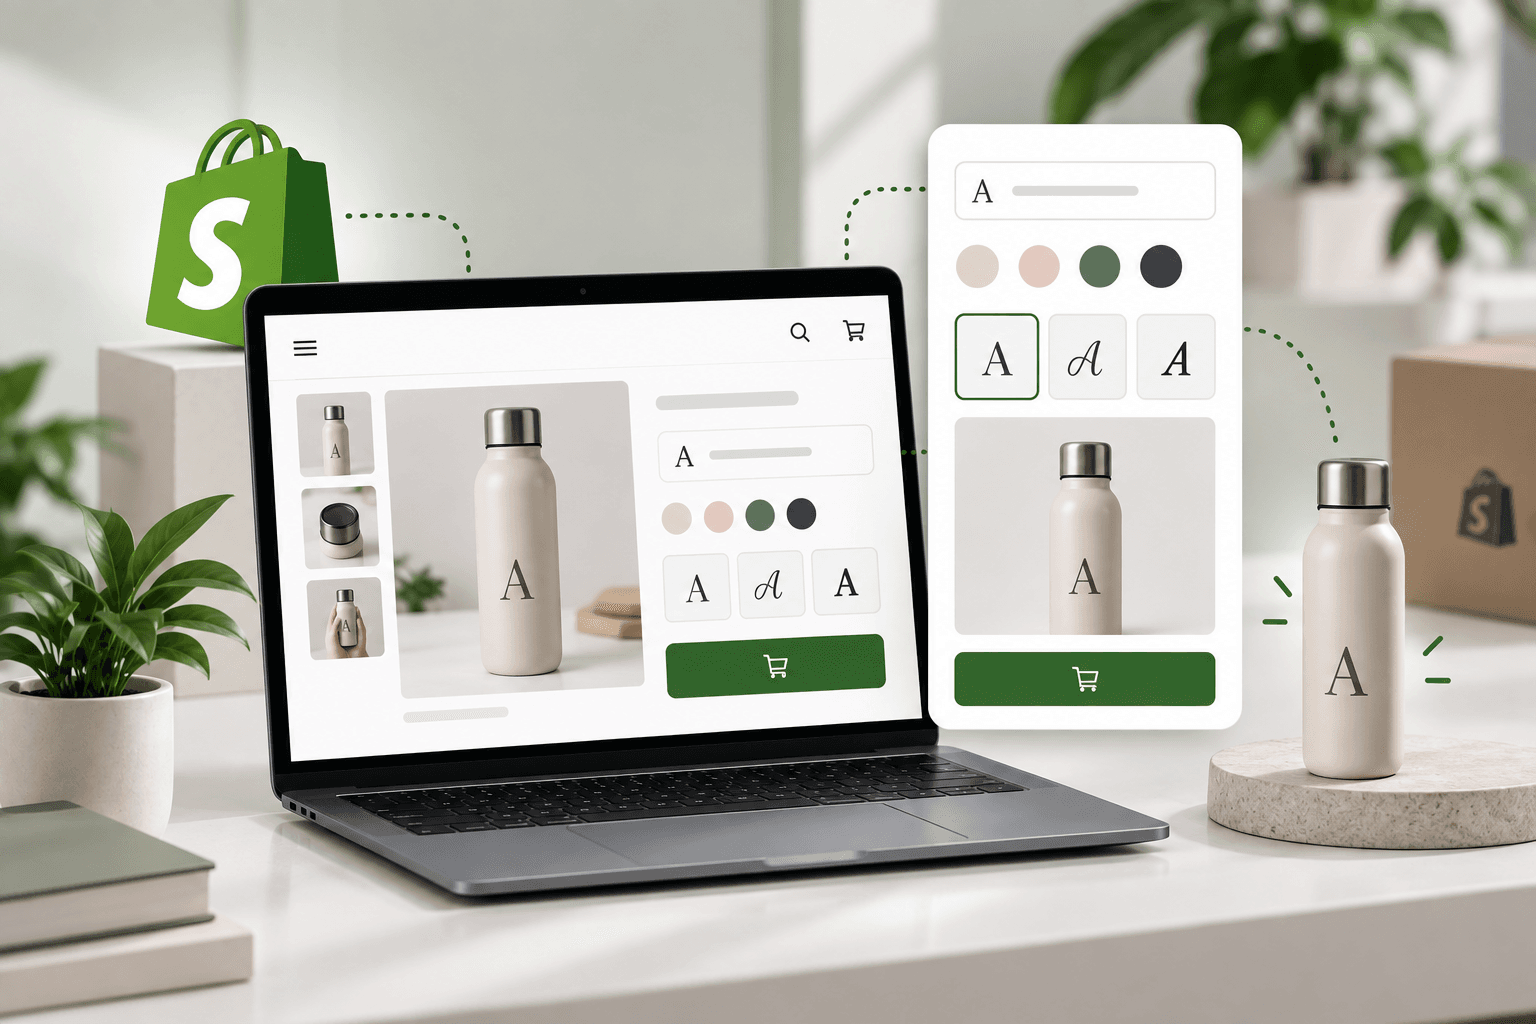
Product personalization can turn a standard Shopify product page into a much more valuable shopping experience. Customers may want to add a name, engraving, initials, custom text, a date, an uploaded image, a gift message, or other product-specific information before placing an order.
The challenge is that personalization features can quickly become complicated.A basic text field is easy to implement, but once you add conditional options, live previews, image uploads, validation, dynamic pricing, personalization rules, and third- party apps, the product page can become slower and harder to maintain.
This guide explains how to add custom product personalization options in Shopify without unnecessarily slowing down your site. We'll cover Shopify Liquid, line item properties, JavaScript, metafields, conditional fields, validation, image uploads, performance optimization, mobile UX, accessibility, and testing.
The core principle
Personalization should be treated as part of the product-purchase flow, not as a separate application bolted onto the product page. Render essential fields efficiently, keep non-critical functionality lightweight, validate input before submission, and load advanced functionality only when the customer actually needs it.
What Is Product Personalization in Shopify?
Product personalization allows customers to customize a product before adding it to their cart.
For example, a jewelry brand might allow:
Name engraving
Initial selection
Custom date
Font selection
Engraving position
A clothing brand might allow:
Custom text
Monogram initials
Embroidery options
Patch selection
Custom color combinations
A gift store could offer:
Gift messages
Recipient name
Gift wrapping
Delivery notes
Custom card messages
These requirements do not always require a complex Shopify app. Many personalization experiences can be implemented directly inside the Shopify theme using standard product forms and line item properties.
The Simplest Shopify Personalization Architecture
Before introducing JavaScript frameworks, external APIs, or third-party applications, understand the simplest architecture.
Customer selects product
                ↓
            Customer enters personalization
            ↓
            Shopify product form captures the data
            ↓
            Line item properties are submitted
            ↓
            Product enters cart
            ↓
            Personalization appears with cart item
            ↓
            Order contains personalization data
For many use cases, this is enough.
You do not need a separate database simply to store a customer's name or engraving text if the information belongs to that specific line item.
What Are Shopify Line Item Properties?
Line item properties are custom values submitted with a product when the customer adds it to the cart.
They are particularly useful for product personalization because the information belongs to a specific product in the cart.
Imagine a customer purchases two personalized mugs:
The personalization needs to remain associated with each individual cart line. Line item properties are designed for this type of data.
Step 1: Add a Basic Personalization Field
The first step is to add the personalization field inside the product form.
A simple text personalization field can look like this:
<div class="product-personalization">
The important part is:
name="properties[Personalization]"
This tells Shopify that the submitted value should be stored as a line item property.
When the customer adds the product to the cart, Shopify can associate that personalization value with the specific product line.
Step 2: Add Multiple Personalization Options
More advanced products may require multiple inputs.
For example:
<input
type = "text"
name = "properties[Name]"
maxlength = "20"
placeholder = "Your name"
>
This creates three separate personalization values:
Name
Date
Font
Keeping each value separate is generally better than combining everything into one large text field because the information becomes easier to display, validate, process, and understand later.
Step 3: Make Personalization Conditional
Not every product needs every personalization option.
A common mistake is rendering every possible field for every product. This creates unnecessary visual complexity and can increase the amount of HTML and JavaScript on the page.
Instead, use product data to determine which options should appear.
For example, a product metafield might contain:
custom.personalization_enabled = true
Liquid can then conditionally render the component:
{% if product.metafields.custom.personalization_enabled %}


                        < div class="product-personalization" >
            ...

                {% endif %}
This approach is much cleaner than loading personalization functionality on every product page.
This is a small amount of JavaScript with a very specific purpose. There is no need to introduce a large frontend framework for a simple interaction like this.
Step 6: Add a Live Personalization Preview
Some products benefit from showing customers what their personalization will look like before they add the item to the cart.
Examples include:
Engraved jewelry
Custom apparel
Personalized mugs
Custom phone cases
Printed gifts
Monogrammed accessories
A lightweight text preview can be implemented without generating a new image every time the customer types a character.
Notice that textContent is used instead of injecting raw HTML. This is safer and avoids unnecessary DOM complexity.
Do You Need Canvas or Image Generation?
Not necessarily.
If the customer only needs to preview text, a regular HTML element with appropriate styling may be enough.
More advanced visual customization — such as moving artwork around a product mockup — may justify a more sophisticated client-side rendering approach. But that functionality should be loaded only when the customer enters the customization experience.
Step 7: Avoid Loading Heavy Personalization JavaScript on Every Page
This is one of the most important performance principles in a Shopify personalization implementation.
If only 10% of your products support personalization, there is little reason to load a large personalization library across the entire storefront.
Instead, detect whether the component exists:
if (document.querySelector('[data-product-personalization]')) {


            import('./product-personalization.js');
            }
This approach keeps the default product page lightweight while still allowing advanced functionality where required.
The same principle applies to third-party personalization apps. If an app injects scripts throughout the storefront even when personalization is not relevant, it may create unnecessary performance overhead.
This is generally safer than making the entire product purchase flow dependent on a large client-side application.
Lazy Load Advanced Personalization Features
If personalization includes a complex editor, preview engine, or image processing system, consider loading it only when the customer opens the personalization interface.
Avoid Using Shopify Variants for Every Personalization Combination
This is another important architectural decision.
Suppose a product has:
5 colors
4 sizes
10 engraving fonts
20 engraving positions
If every combination becomes a Shopify variant, the number of combinations can become enormous.
Personalization data that does not represent a true inventory or product variant should generally not be modeled as a product variant simply because the UI needs to capture it.
Instead, consider:
Actual product variant


                +
                Line item personalization properties
                    +
                    Optional pricing logic
This keeps the underlying product structure more manageable.
When Personalization Requires Additional Pricing
A more complex requirement is charging extra for personalization.
For example:
Base product
$50
Personalization
+$10
Customer total
$60
A line item property by itself stores information; it does not automatically turn an arbitrary text value into an additional product price.
If personalization has a real price impact, the pricing architecture needs to be designed separately.
Depending on the requirement, options can include:
Separate add-on products
Dedicated variants where appropriate
Shopify Functions for supported discount or cart logic
Specialized personalization applications
Custom cart logic
The right approach depends on whether the personalization represents a true sellable component, an optional service, or simply additional production information.
Personalization File Uploads Need Special Attention
Image or artwork uploads are more complex than simple text fields.
A file-upload workflow may require:
File type validation
File size limits
Image dimension validation
Secure storage
Processing
Order association
Production-team access
Do not assume that a simple HTML file input automatically solves the entire production workflow.
If customers upload artwork that needs to be used for manufacturing, the storage and processing architecture should be designed around the operational requirements of the business.
Design Personalization for Mobile First
Personalization forms can become particularly difficult on mobile devices.
A desktop interface may comfortably display six options next to a product preview. On mobile, the same layout can become a long sequence of fields that pushes the Add to Cart button far below the fold.
A mobile-friendly personalization UI should:
Use clear labels
Group related fields
Show only relevant options
Use large touch targets
Keep error messages close to the affected field
Show character counts where relevant
Make selected options visually obvious
Keep the purchase CTA accessible
Avoid turning the product page into a complicated form before the customer understands the product itself.
Make Personalization Accessible
Custom UI still needs to work for customers using keyboards, screen readers, and other assistive technologies.
Important considerations include:
Every input should have a meaningful label.
Do not rely only on color to communicate selection.
Keyboard users should be able to interact with all controls.
Errors should be communicated clearly.
Hidden conditional fields should not create confusing tab order.
Buttons should have descriptive accessible names.
Preview content should not replace the underlying text input.
Accessibility is not only a compliance consideration. It is part of good ecommerce UX.
Keep Personalization SEO-Friendly
Personalization fields are usually not the content you want search engines to index. Your core SEO content should remain focused on the product, category, benefits, specifications, and customer intent.
Avoid adding large amounts of client-generated or dynamically generated content to the main product page simply for personalization purposes.
The product page should continue to have a clear structure:
Product title


            ↓
            Product information
            ↓
            Price
            ↓
            Variants
            ↓
            Personalization
            ↓
            Add to Cart
            ↓
            Benefits / details
            ↓
            Reviews
            ↓
            Related products
Use Shopify Sections for Reusable Personalization UI
If personalization is going to appear across multiple product templates, it should be developed as a reusable component rather than copied into multiple Liquid files.
Shopify apps can be useful when personalization requirements are complex or when the business needs functionality that would take significant time to build internally.
However, installing multiple apps for small personalization features can create unnecessary complexity.
Before installing an app, ask:
Does the store actually need this functionality?
Can the requirement be handled with native Shopify features?
Does the app load scripts on every page?
Can its scripts be limited to product pages?
Does it inject large amounts of markup?
Does it introduce external network requests?
Can the design be controlled properly?
What happens if the app is removed later?
This is especially important for stores that already have several apps installed.
Personalization Data Should Be Easy to Understand in the Cart
Adding personalization to the product page is only half the job.
Customers should be able to review their personalization before checkout.
For example:
Personalized Necklace
Name: SAURAV
Font: Classic
Date: 14/09/2026
This gives the customer confidence that the correct personalization was submitted.
If you're using a custom cart drawer, make sure line item properties are displayed clearly rather than hidden from the customer.
Personalization and Custom Cart Drawers
A custom cart drawer can make personalized-product shopping much smoother.
After Add to Cart, the drawer can display:
Product image
Product title
Selected variant
Personalization details
Quantity
Price
Relevant recommendations
Checkout CTA
This is particularly valuable because personalized products often require more customer verification than standard products.
Customers should not have to navigate through several pages just to confirm that their custom text was captured correctly.
Performance Checklist for Shopify Personalization
Before launching a personalization feature, review its performance impact.
Load personalization JavaScript only where required.
Lazy load advanced personalization editors.
Avoid unnecessary third-party scripts.
Optimize product preview images.
Do not create excessive hidden DOM elements.
Keep the initial product page server-rendered where possible.
Use progressive enhancement for advanced interactions.
Avoid unnecessary frontend frameworks for simple interactions.
Debounce expensive preview operations when necessary.
Test mobile performance separately.
Measure Core Web Vitals after implementation.
Measure the Impact on Core Web Vitals
Adding a personalization feature changes the product page, so performance should be measured again after deployment.
Pay attention to:
LCP: Is the main product content still loading quickly?
INP: Does the page respond quickly when customers interact with personalization controls?
CLS: Does the personalization UI cause unexpected layout movement?
A personalization editor that suddenly pushes the Add to Cart button downward while loading can create a poor experience even if the feature itself works correctly.
Prevent Layout Shift in Personalization Components
If a preview image or personalization editor appears after the page has loaded, reserve the required space before the content arrives.
.personalization-preview {


            min - height: 240px;
            }
The exact value depends on the component, but the principle is to prevent large content shifts.
This becomes particularly important when personalization UI is loaded asynchronously.
Use Debouncing for Expensive Live Previews
If every keystroke triggers an expensive calculation, API call, image generation request, or complex rendering operation, the browser may perform unnecessary work.
The important point is that you should not introduce Layer 5 when Layers 1–4 are enough to solve the problem.
When Should You Build Custom Personalization Instead of Using an App?
Custom development is often a good choice when personalization is relatively focused and closely tied to your product page UX.
Examples include:
Custom text fields
Engraving options
Monograms
Gift messages
Simple dropdown personalization
Conditional product options
Lightweight previews
Product-specific personalization instructions
A specialized application may make more sense when the store requires a sophisticated visual editor, complex artwork processing, production integrations, or functionality that would otherwise require building and maintaining a substantial custom application.
When a Custom App or External System Makes More Sense
Consider a more advanced architecture when customers need capabilities such as:
Drag-and-drop product design
Multiple editable artwork layers
High-resolution print files
Complex image manipulation
Production-ready artwork generation
Advanced customer accounts and saved designs
Custom manufacturing integrations
Large-scale personalization workflows
In these cases, trying to force everything into a Shopify Liquid template can make the theme difficult to maintain.
Shopify can remain the commerce layer while the specialized personalization functionality lives in an appropriate application architecture.
Testing Checklist Before Launch
Personalization introduces many edge cases, so functional testing is critical.
Test personalization with the first available variant.
Test every relevant product variant.
Test empty fields.
Test maximum character limits.
Test invalid characters if restrictions exist.
Test switching between personalization types.
Test adding multiple personalized products.
Test changing quantities in the cart.
Test removing personalized items.
Verify personalization remains attached to the correct line item.
Test mobile browsers.
Test keyboard navigation.
Test screen-reader labels.
Test JavaScript-disabled fallback where practical.
Measure page performance before and after implementation.
A Practical Implementation Strategy
If you're adding personalization to an existing Shopify store, avoid rebuilding the entire product page immediately.
A safer rollout looks like this:
Step 1


            Define personalization requirements
            ↓
            Step 2
            Decide what is a variant vs line item property
            ↓
            Step 3
            Create product metafields
            ↓
            Step 4
            Build basic Liquid fields
            ↓
            Step 5
            Add validation
            ↓
            Step 6
            Add lightweight JavaScript
            ↓
            Step 7
            Add optional preview
            ↓
            Step 8
            Optimize images and scripts
            ↓
            Step 9
            Test cart and order data
            ↓
            Step 10
            Measure conversion + performance
This incremental approach makes debugging much easier than launching a large personalization system all at once.
The Biggest Mistakes to Avoid
1. Loading Personalization Code Globally
If only some products support customization, do not make every page download the same heavy personalization assets.
2. Using Variants for Every Possible Option
Personalization data and inventory variants are different concepts. Keep the product model manageable.
3. Ignoring Cart Verification
Customers need to see what personalization they selected before checkout.
4. Making the UI Desktop-Only
A complex personalization workflow can become extremely frustrating on mobile if it is not designed responsively.
5. Adding a Heavy App for a Simple Text Field
Not every personalization requirement needs a third-party application.
6. Forgetting Performance Testing
A feature can be functionally correct and still hurt the store's user experience if it adds too much JavaScript, large images, or third-party network activity.
Final Thoughts
Shopify product personalization does not have to mean sacrificing page speed.
For many stores, the foundation can be surprisingly simple: Shopify Liquid for rendering, line item properties for product-specific customer data, metafields for configuration, and lightweight JavaScript for interaction.
More advanced features such as live previews, image uploads, visual product editors, and dynamic personalization workflows can be added progressively when the business actually needs them.
The key is to keep the architecture proportional to the requirement. Do not introduce a large JavaScript application, multiple third-party scripts, or unnecessary product variants just to implement a simple personalization field.
A well-built personalization experience should feel like a natural part of the Shopify product page. It should be fast, easy to understand, mobile-friendly, accessible, SEO-safe, and reliable all the way from product selection to checkout.
When personalization is implemented with performance in mind from the beginning, DTC brands can offer a more differentiated shopping experience without turning their Shopify storefront into a slow, fragile collection of scripts and apps.
If your store needs a custom personalization workflow, performance optimization, or a more scalable Shopify theme architecture, explore our Shopify development services or view our development portfolio.
About the author
Saurav Prajapati
Shopify & Frontend Developer sharing practical experience with Shopify, Liquid, React, Next.js, APIs, and modern web development.